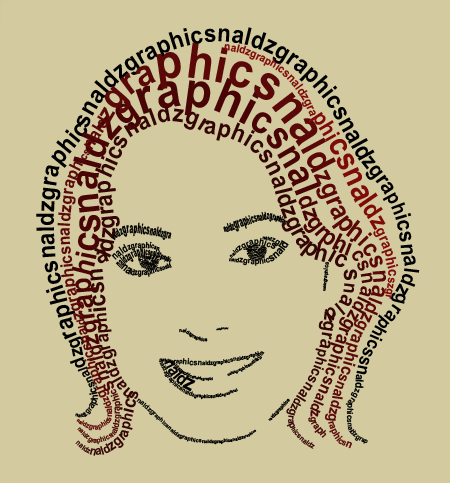
As I was thinking of making more advance tutorials, maybe its time to make a quick simple tutorials where beginners can easily figure how it was done. Here is a simple tutorial for beginners. In this tutorial you’ll gonna learn how to create a Simple Text Portrait in Photoshop. You will learn how to make a text follow into a path with the use of Pen Tool (P) in more artistic way. Here’s a quick look on the final result
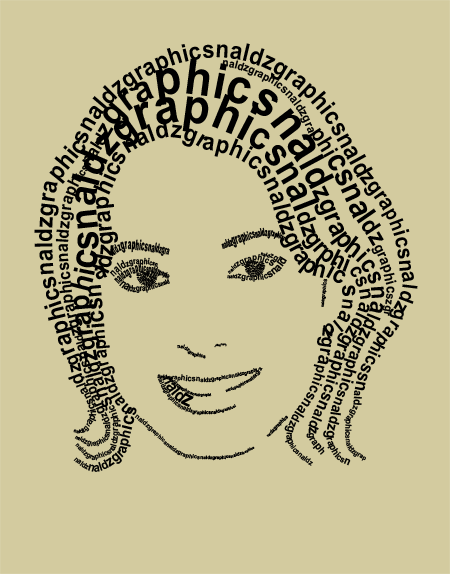
First we need to get a Stock photo to start. This girl is good for our tutorial. You can download it HERE. After you download it. Put it in Photoshop and Name it to “GUIDE”
Once you download, Remove the background using Polygonal Lasso Tool (L).

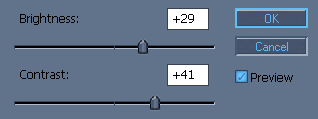
Lets adjust the image Brightness and Contrast. Copy the settings below
Now lets posterize it a bit. Go to Image>Adjustments>Posterize. Then set the Level to 5. One its done set the image Opacity to 40 so we can easily see the path later on once we use Pen Tool (P).

Choose Pen Tool (P). Start creating a path from left to right. See image below.
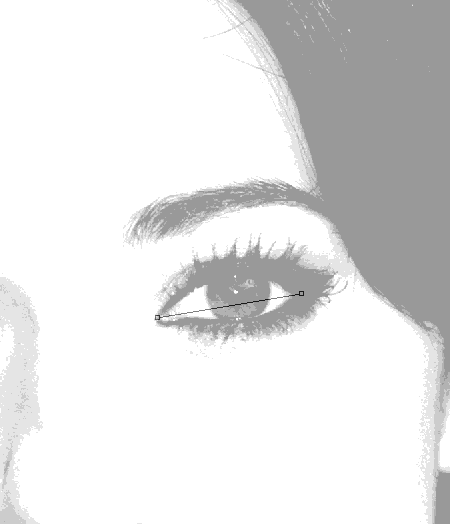
Now Lets add an anchor point on the center of the path. Right Click on the Pen Tool (P) in the toolbar then choose Add Anchor Point Tool. Add an anchor point on the center then hold Left Click on your Mouse then drag it Upward.
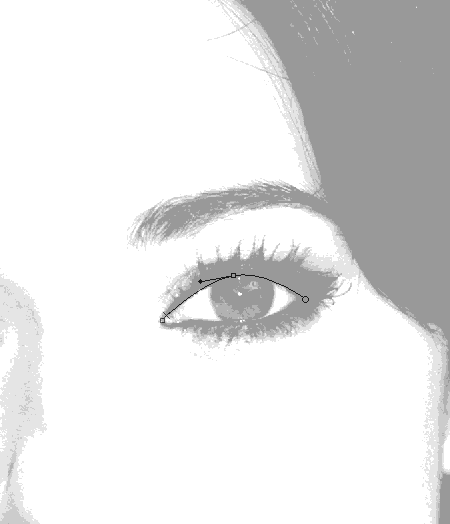
This time choose Horizontal Type Tool (T) then click on the left side of the path. Its the first point when we start creating our path. After you click the first point of our path It must look like this
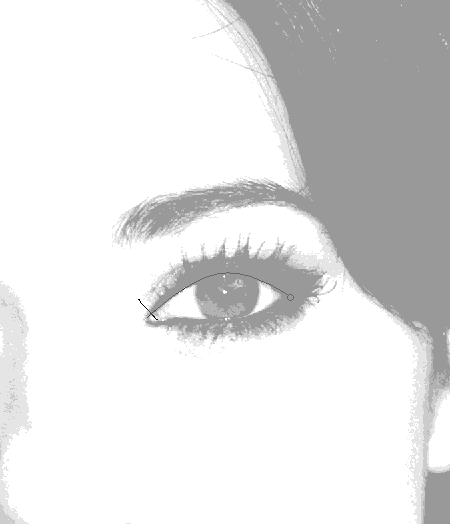
Now Start typing a text. I use naldzgraphics on this sample repeatedly:).
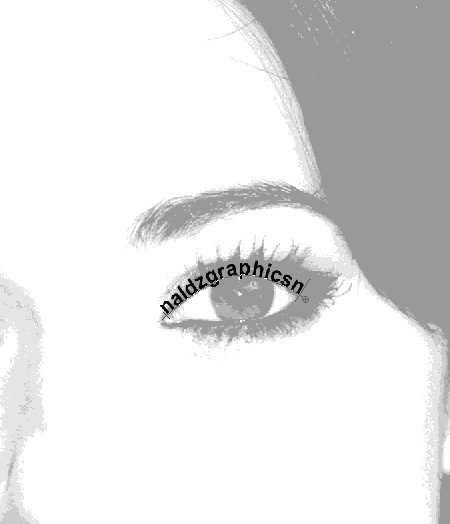
Lets adjust the size of the fonts so it will occupied the darker part of our image since we are using the darker part of the image as our guide to create our portrait.
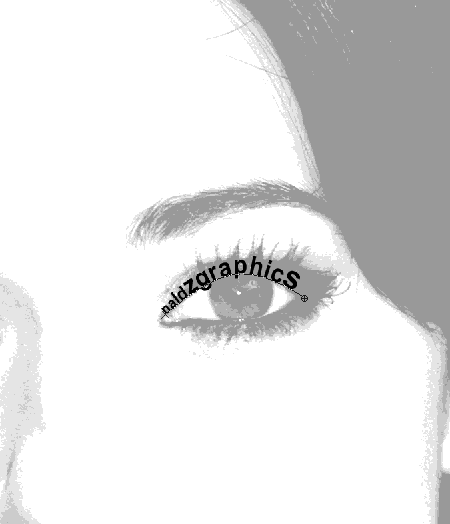
To work on the eye, Choose Ellipse Tool (U) and start creating a circle inside the eye. Once your done adjust the circle using Direct Selection Tool (A). Now we have just made a path on the eye.
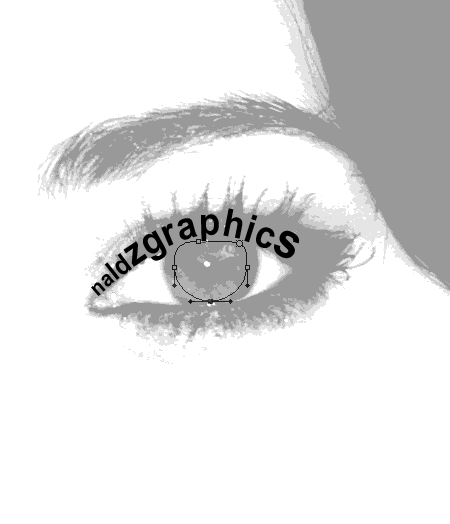
Choose Horizontal Type Tool (T) again. Click on the upper right of the path and start typing a text. It will look like this.

Now you learn how to create a path using Pen Tool repeat the same process on the nose,mouth and hair. Again make sure to use the darker part on the image as the guide on making the path:) Once your finish, close the “GUIDE” Layer. On the Background layer use #d3cb9f color. Use Paint Bucket Tool (G) to apply the color. And we’re finish:) Again Congrats!!!

Also Adding color gives better effect.You can play what ever color you want on your portrait. Here I just use a simple color using only more on red.
I hope this tutorial help you.
from this source : http://naldzgraphics.net/tutorials/how-to-create-a-simple-face-text-portrait-in-photoshop/


0 comments:
Post a Comment